So, you did it. You rented a unit. Maybe it’s the 10×15 around the corner from me. You stood in that empty space, heard the door close, and the first thought was probably, “Okay… now what?”
I’m Dave, by the way. I probably handed you the lease agreement. I’ve been running this place for years, and I’ve seen it all. The good, the bad, and the downright ugly when it comes to packing. The number one thing I tell people? Your future self is either going to bless you or curse you based on what you do in the next few hours.
I watched a guy last month spend four hours stuffing his unit like a Thanksgiving turkey. He was proud of how much he fit. Then, on Saturday, he was back, needing one specific toolbox. He spent another three hours unpacking almost everything. He looked like he wanted to cry. Let’s make sure that’s not you.
Here’s the real, no-BS advice I give my friends when they ask.
Start With a Smart Strategy, Not the Boxes
Seriously. Take a breath. The single biggest mistake is just unloading the truck directly into the unit. You need a plan. It’s like a game of Tetris, but with your grandma’s china.
Grab This Stuff First (Trust Me):
- Boxes that are all the same size: I know those free grocery store boxes are tempting, but they’re flimsy and they collapse. Spend the $2-$3 on a heavy-duty box. Your back will thank you later. Get small ones for books (SO heavy) and big ones for light stuff like bedding.
- A giant black Sharpie: This is your most important tool. More important than the tape gun.
- A bunch of cheap moving blankets or old comforters: You’d be surprised what gets scuffed up just from brushing against another piece of furniture.
Now, The Packing Part: Be a Labeling Maniac
When you pack a box, I want you to be ridiculously specific with that Sharpie. Don’t just write “Kitchen.” That’s useless. Write “KITCHEN – Thanksgiving Plates, Gravy Boat, Serving Spoons.” And then write it on every single side of the box. Not just the top. When you’re three rows deep, you need to see what it is from any angle.
Loading It In: This is Where the Magic Happens
This is the secret sauce. Everyone gets this part wrong.
1. Leave an Aisle
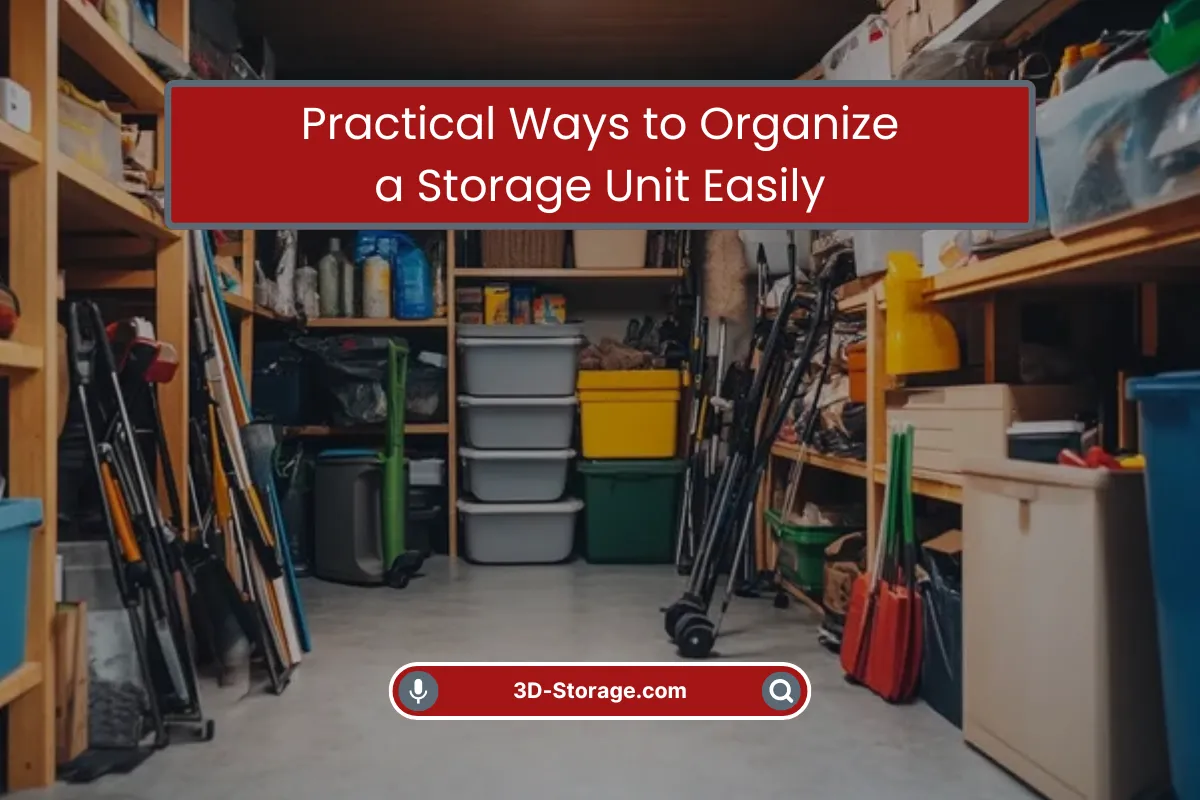
I don’t care if you got the smallest 5×5 unit. Leave a skinny walking path down the middle. If you don’t, you will 100% need the one thing you put in the very back. It’s a law of the universe.
2. Start with the Big, Heavy, “Never-Need” Stuff
Think sofas, bookcases, that heavy dresser. Push all that against the far wall. This is your foundation.
3. Build a Wall of Boxes
Start stacking your boxes from the back forward, working on the sides. Heavy boxes at the bottom, light ones on top. Build your walls up, leaving your aisle open.
4. Get Vertical
Got a mattress? Stand it up on its side against the wall. It takes up almost no floor space that way. Table upside down? Put it on top of a dresser and put boxes inside the gap where the legs are. Use every single inch of air space.
5. Think About What You’ll Need
That box of Christmas ornaments? Probably don’t need it until December. That can go in the back. Your off-season clothes that you might swap out in a few months? Keep that towards the front.
One More Pro-Tip: When you take apart a table or a bed frame, put all the screws, bolts, and little bits into a Ziploc bag. Tape that bag directly to the piece of furniture it belongs to. You will never, ever lose them.
Final Thoughts
Look, the goal is to walk out of here, roll that door down, and have total peace of mind. You should know that your stuff is safe, dry, and—most importantly—findable.
That’s the whole point of why we do what we do at 3D Storage. We’re not just renting you space; we’re helping you solve a problem. We want you to feel good about storing your stuff here. If you’re ever loading up and have a question, just wave me down. I’m full of this kind of boring, but seriously useful, advice.
Now go forth and conquer that unit. You’ve got this.




0 Comments